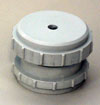
 Vent-211 $50
 ![]()
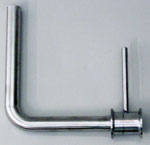
Replacement vent
- Standard on our tanks
- Pressure vents at 0.05 psi
- Vacuum break at 0.05 psi (let air/gas into tank when tank is drained)
- Max flow rate 125 GPM (Be sure the flow rate matches or exceeds the pump speed when filling/emptying)
- Associated lid tube mitigates wime coming through (as with inexpensive white vents)
- Easy to remove and clean
- Better seal than white plastic vents
- Hard grey plastic
 2" TC x female Adapter $120
 ![]()
Adapter to replace Vent-211 with 2" Triclamp port.
304 stainless. Includes gasket.
Replacement rubber Gasket $4 ![]()
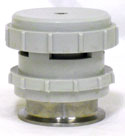 Vent 211 with 2" Triclamp $79
 ![]()
This is not for our tank. This is used to add a Vent-211 to another brand of tank that has a 2" Triclamp port.
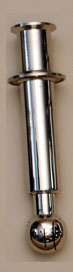 Thru-Wall
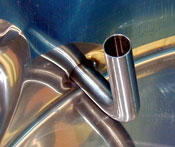
Revolving Spray Ball 1.5"-2" $150
Thru-Wall
Revolving Spray Ball 1.5"-2" $150 ![]()
These are placed through a TriClamp port on a tank.
All of our closed top tanks have extra 2" TC port on top.
- Fits 2" TriClamp port on tank. Inlet is 1.5" Triclamp. Ball diameter 1.75". Total length 12.5" 304 stainless.
- Pressure: 30 psi
- Flow: 50 GPM
- Cleaning diameter: 8'
- Lubricate periodically with food grade silicone spray. Be sure to rinse well with water after cleaning. Always lubricate after cleaning.
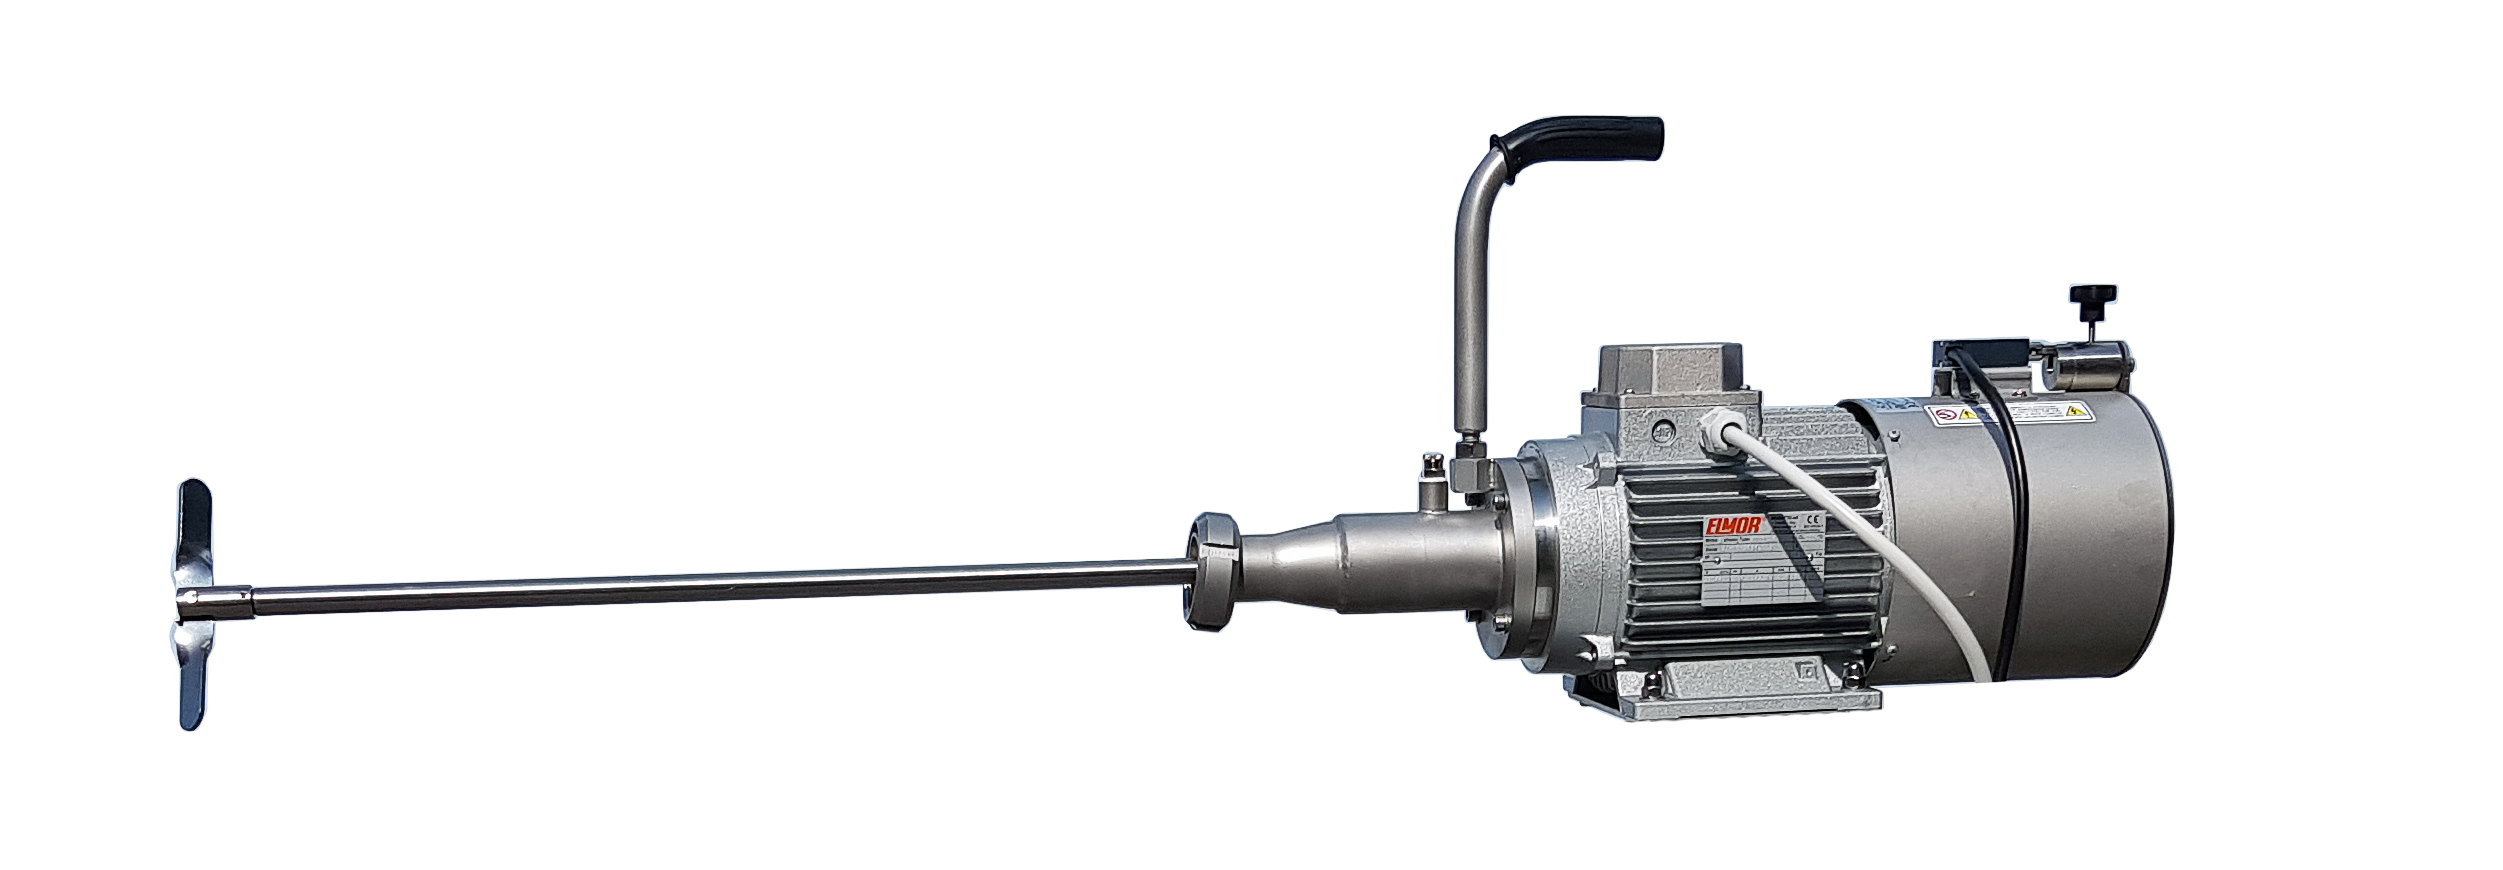
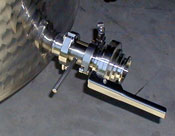
Removable Agitator, 2" TriClamp $1895 ![]() in stock in Taylor
in stock in Taylor
Removable Agitator, 1.5" TriClamp $1895 ![]() in stock in Taylor
in stock in Taylor
Attach to ball valve. Open valve, and extend mixing blades thru the valve.
220V, 60 Hz, single phase, 3/4 HP
The agitator can be attached directly to the racking port of our Letina tanks without a supporting stand. The reinforcing ring on the racking port, a Letina innovation from nearly 20 years ago, permits this.
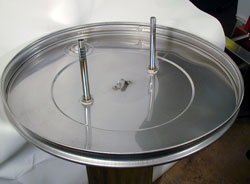
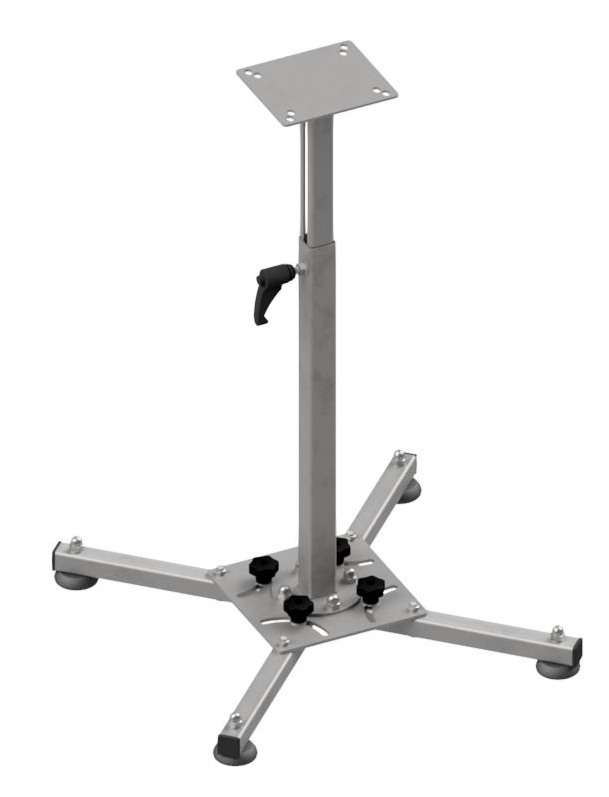 Adjustable Support $430
 ![]() in stock in Taylor
in stock in Taylor
14"- 21"
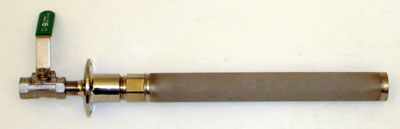
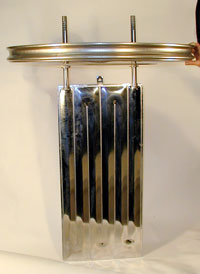
Tank Carbonation/Aeration Assembly $245 ![]() in stock
in stock
Complete with 1.5" TriClamp coupler, Stone, and 1/4"
stainless ball valve.
St. Pat's design eliminates the leaks and assembly fuss of competitive stones. Competitive products either 1)weld the stone to an end cap which makes cleaning difficult and flexibility impossible or 2)press the stone between two gaskets which is prone to leaks.
(Must have 1.5" TC port. Will not fit thru a 1" TC port.)
Stone Only $165 ![]() in stock
in stock
316 stainless, 2 micron porosity. 9.5" Length x 1"
diameter. 1/2" MPT on one end, other end closed.
![]()
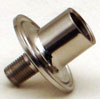 Special Fitting for Carbonation/Aeration Stone $40
 ![]() in stock
in stock
1.5" TriClamp Coupler—1/4" MPT x 1/2" FPT
End Cap with 1/4" MPT on external face, 1/2" FPT
on internal face. This is fitting used on our tank gas diffusion stone at left.
How to Determine TriClamp Size
How to Determine Pipe Thread Size